
Dishwasher DIY Troubleshooter
...
...
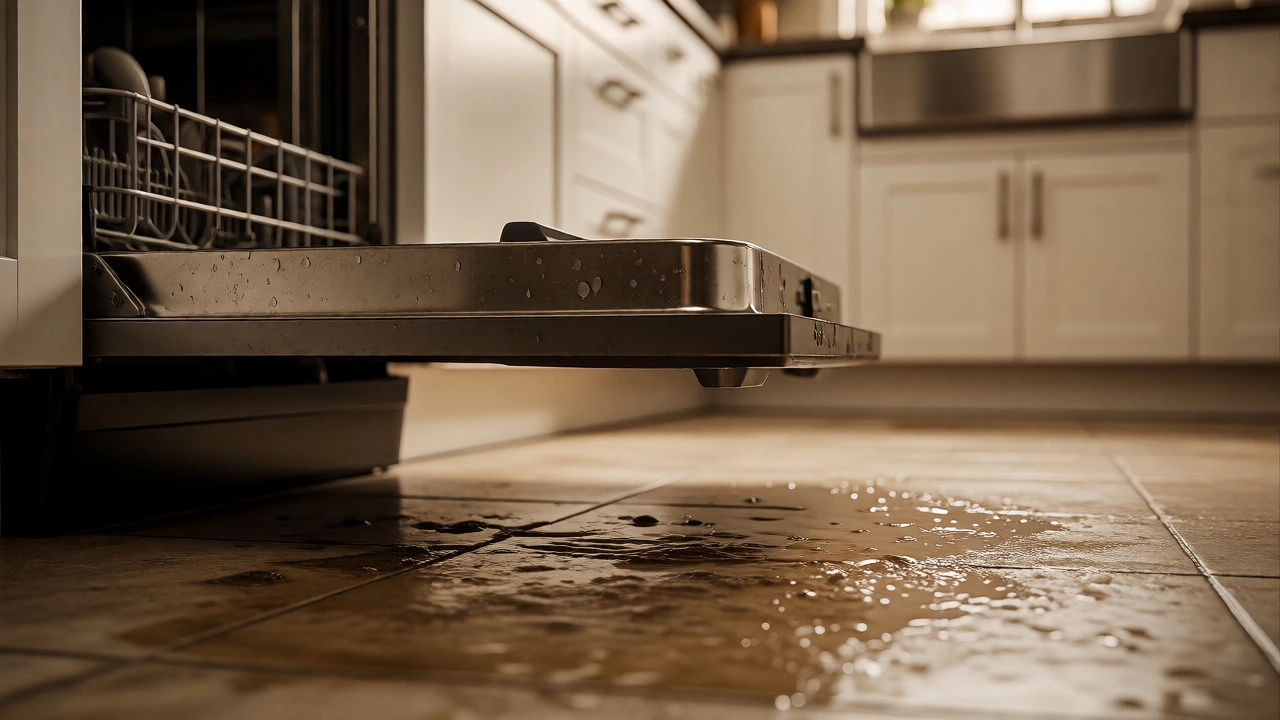
You open the door to a puddle of dirty water on your kitchen floor. The dishwasher isn't draining, or maybe it's making a noise like a garbage disposal chewing on gravel. Your first instinct is to call a technician, but then you check your bank account. Service calls can cost $100-$200 just to show up. If you own an affordable dishwasher, spending half its value on a repair fee feels painful. So, can you actually fix it yourself? For about 80% of common issues, yes. You don't need to be a plumber or an electrician. You just need a screwdriver, a flashlight, and a bit of patience.
This guide cuts through the jargon. We’ll look at what breaks most often in budget-friendly models from brands like Whirlpool, GE, or Bosch (their entry-level lines), and how you can diagnose and fix them without voiding your warranty unnecessarily. If you’re handy enough to assemble IKEA furniture, you’re ready for this.
The Safety Check Before You Touch Anything
Before you grab your tools, let’s get one thing straight: electricity and water are a bad mix. You must disconnect power. This doesn’t mean just turning off the machine; you need to flip the breaker in your electrical panel. If you can’t find which breaker controls the dishwasher, use a non-contact voltage tester. It’s cheap ($15) and tells you if wires are live. Never skip this step. Water damage is annoying; electrocution is fatal.
Also, shut off the water supply valve. Most dishwashers have a small valve under the sink or behind the kickplate. Turning it clockwise stops water flow. Now you’re safe to start poking around.
Problem #1: The Dishwasher Won’t Start
If you press “Start” and nothing happens-no lights, no hum, no action-the issue is usually power-related. First, check the door latch. Many modern units have a safety switch that prevents operation if the door isn’t fully closed. Try opening and closing it firmly. Does it click? If not, the latch might be broken. Replacement latches cost $20-$40 and take ten minutes to swap.
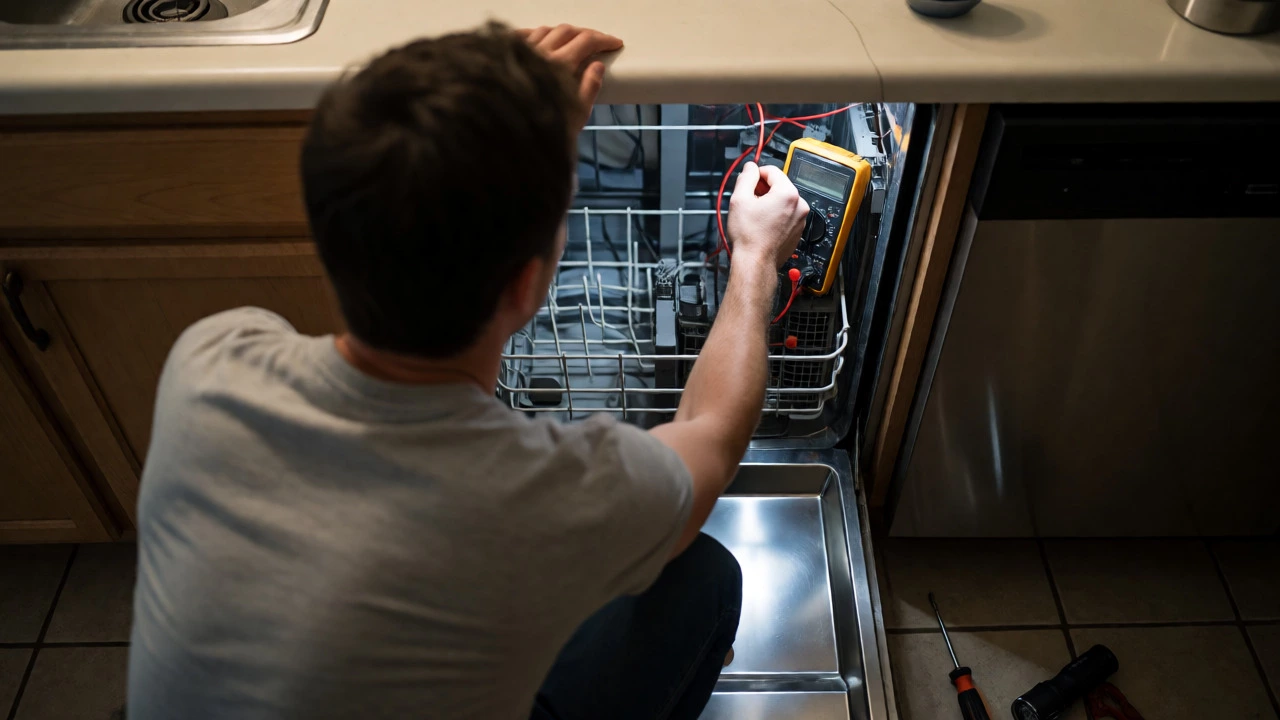
If the door seems fine, check the control board fuse. Some affordable models have a simple thermal fuse inside the control panel. If it blows due to overheating, the machine dies completely. You’ll need a multimeter to test continuity. If the fuse is dead, replace it. It costs less than $10. If the control board itself is fried (often visible as burn marks), replacement boards run $100-$200. At that point, weigh the cost against buying a new unit.
Problem #2: Dirty Dishes After a Cycle
This is the most common complaint with budget dishwashers. You expect sparkling clean plates, but they come out greasy or spotted. Why?
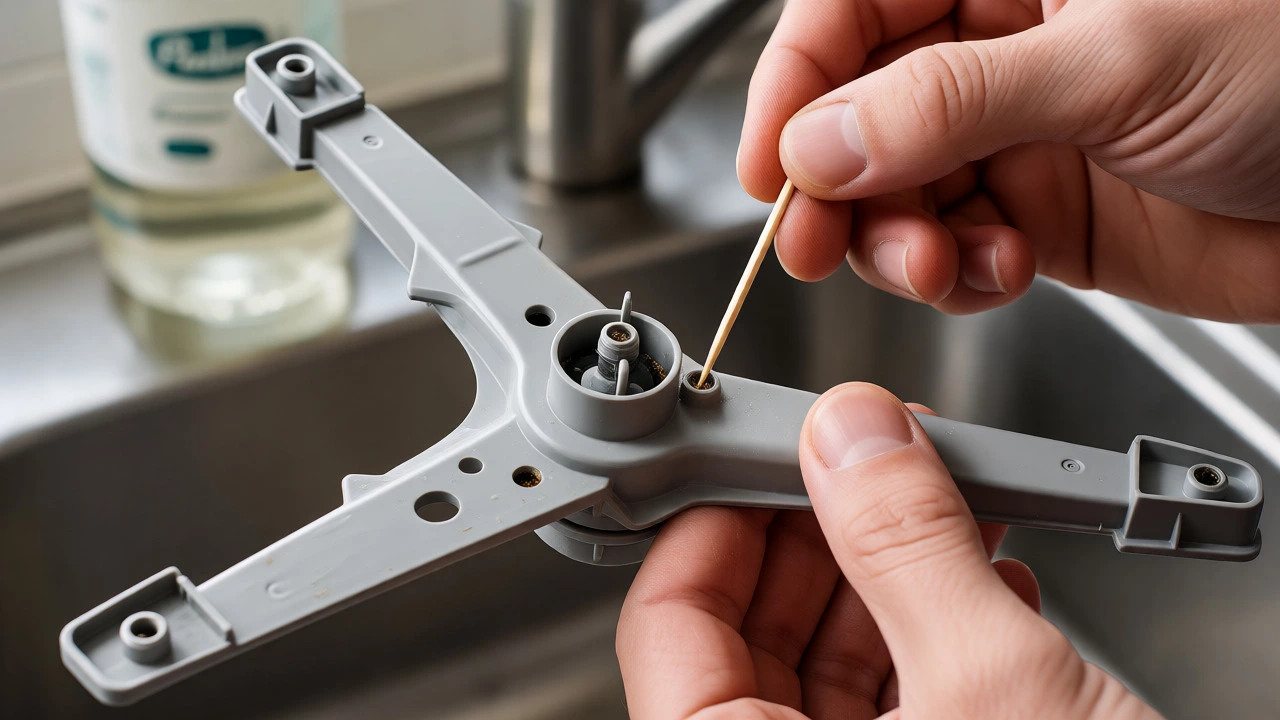
- Clogged Spray Arms: Food particles get stuck in the tiny holes. Remove the spray arms (usually twist-off) and soak them in vinegar. Use a toothpick to clear each hole. This takes five minutes and solves half of all cleaning issues.
- Faulty Water Inlet Valve: If the machine doesn’t fill with enough hot water, detergent won’t activate. Listen for the sound of water filling during the cycle. If it’s silent or weak, the inlet valve might be clogged with sediment. Replace the valve ($30-$50).
- Hard Water Buildup: If you live in Vancouver or other areas with hard water, calcium deposits coat the heating element and sensors. Run a cleaning cycle with a cup of white vinegar placed upright on the top rack. Do this monthly.
If these steps don’t help, check your detergent. Did you use too much? Too little? Or worse, did you use regular hand soap by mistake? That creates suds overflow, which confuses the machine’s sensors.
Problem #3: Standing Water at the Bottom
You open the door after a cycle, and there’s a pool of murky water. This means drainage failure. Here’s how to troubleshoot it step-by-step:
- Check the Filter: Most affordable dishwashers have a manual filter at the bottom of the tub. Twist it out. Is it covered in chicken bones, lettuce, or glass shards? Clean it thoroughly. A clogged filter is the #1 cause of standing water.
- Inspect the Drain Hose: Follow the hose from the back of the dishwasher to the sink drain or garbage disposal. Make sure it’s not kinked. Also, check for air gaps. If the hose loops down into the cabinet and then up, it might create a siphon effect. Ensure it’s installed correctly per the manual.
- Test the Air Gap (if present): Some homes have a cylindrical device on the countertop near the faucet. Unscrew the cap and clean out any debris. Clogged air gaps prevent proper draining.
- Listen to the Pump: If the filter and hose are clear, the drain pump might be failing. You’ll hear a humming noise but see no water moving. Pumps cost $40-$80. Replacing one requires removing the lower access panel and disconnecting two wire connectors. It’s doable for a novice.
Problem #4: Leaks Under the Sink
Puddles are scary because they rot cabinets. But where is the leak coming from? Put a dry towel under the dishwasher and run a short cycle. Watch closely.
| Leak Location | Likely Cause | DIY Fix Cost | Difficulty |
|---|---|---|---|
| Under the door edge | Worn door gasket | $15-$25 | Easy |
| Behind the kickplate | Loose water inlet connection | $0 (tighten) | Very Easy |
| Middle of the unit | Cracked tub or faulty pump seal | $50+ | Medium |
| Near the drain hose | Cracked hose or loose clamp | $10-$20 | Easy |
The door gasket is the easiest fix. It’s a rubber seal around the inner door. Over time, it gets brittle or torn. Pull it out, push the new one in. Done. If the leak comes from the water inlet valve connections, tighten the fittings with a wrench. Don’t over-tighten plastic threads-they crack easily.
When to Call a Pro
Not everything is DIY-friendly. Call a technician if:
- The main control board is burnt. Diagnosing electronic faults beyond fuses requires expertise.
- The stainless steel tub is cracked. Welding or replacing the entire tub is often more expensive than a new dishwasher.
- Your home has complex plumbing. If your dishwasher shares a line with a garbage disposal and you suspect cross-contamination or valve failures deep in the wall, leave it to the pros.
- The unit is still under warranty. Opening the cabinet might void coverage. Check your manual first.
For most people with an affordable dishwasher, the sweet spot for DIY is between $0 and $75 in parts. If the repair quote exceeds 50% of the cost of a new mid-range model, consider upgrading instead. Newer models are quieter and more energy-efficient, saving you money on utility bills long-term.
Why is my dishwasher leaking only when it drains?
This usually points to a problem with the drain hose or air gap. When the pump activates, pressure builds up. If the hose is cracked, disconnected, or the air gap is clogged, water escapes under pressure. Check the hose clamps and ensure the hose isn't pinched behind the unit.
Can I use vinegar to clean my dishwasher every month?
Yes, running an empty cycle with a cup of white vinegar on the top rack helps remove mineral buildup and odors. However, don't pour vinegar directly onto the heating element if your model has an exposed coil, as rapid temperature changes could theoretically stress the metal over many years. Placing it in a bowl is safer.
My dishwasher makes a loud grinding noise. What does that mean?
A grinding noise often means something hard, like a bone fragment or glass shard, is stuck in the pump impeller. Turn off the machine, remove the lower rack, and inspect the filter area. If the object isn't visible, you may need to remove the pump cover to retrieve it. Ignoring this can damage the pump motor permanently.
Is it worth repairing a 10-year-old affordable dishwasher?
Generally, no. If the repair costs more than $100, it's better to buy a new one. Modern Energy Star-certified dishwashers use significantly less water and electricity. Plus, older models lack features like sensor drying and quiet operation. The savings on utilities and improved performance usually justify the upgrade.
What tool do I absolutely need to start DIY repairs?
A multimeter. It costs under $20 and lets you test fuses, switches, and motors for continuity. Without it, you're guessing which part is broken. A Phillips-head screwdriver and adjustable wrench are also essential basics.