If you just bought a fresh screen, the excitement can turn into a headache fast. Don't worry – setting up a TV is easier than you think. In the next few minutes you'll have a solid plan for mounting, wiring, and fine‑tuning your picture without spending hours on YouTube.
First, decide where the TV will live. Aim for a spot where you can sit about 1.5 to 2.5 times the screen’s diagonal away. For a 55‑inch TV, that means roughly 2.5 to 4.5 metres from the couch. Measure the height so the centre of the screen lines up with your eyes when you’re seated. This reduces neck strain and gives the best viewing angle.
If you’re using a wall mount, grab a stud finder and locate the studs in the wall. A standard 4‑hole mount needs at least two studs for safety. Mark the drilling points, drill pilot holes, and use lag bolts that match the mount’s instructions. Tighten everything firmly, then hook the TV onto the mount. Double‑check that the TV is level – a quick bubble level does the trick.
Keep cables in mind while you mount. Leave a little slack behind the TV so you can reach power outlets and HDMI ports without pulling. If you want a clean look, consider a cable raceway or an in‑wall power kit. These options hide the mess and keep your setup looking sleek.
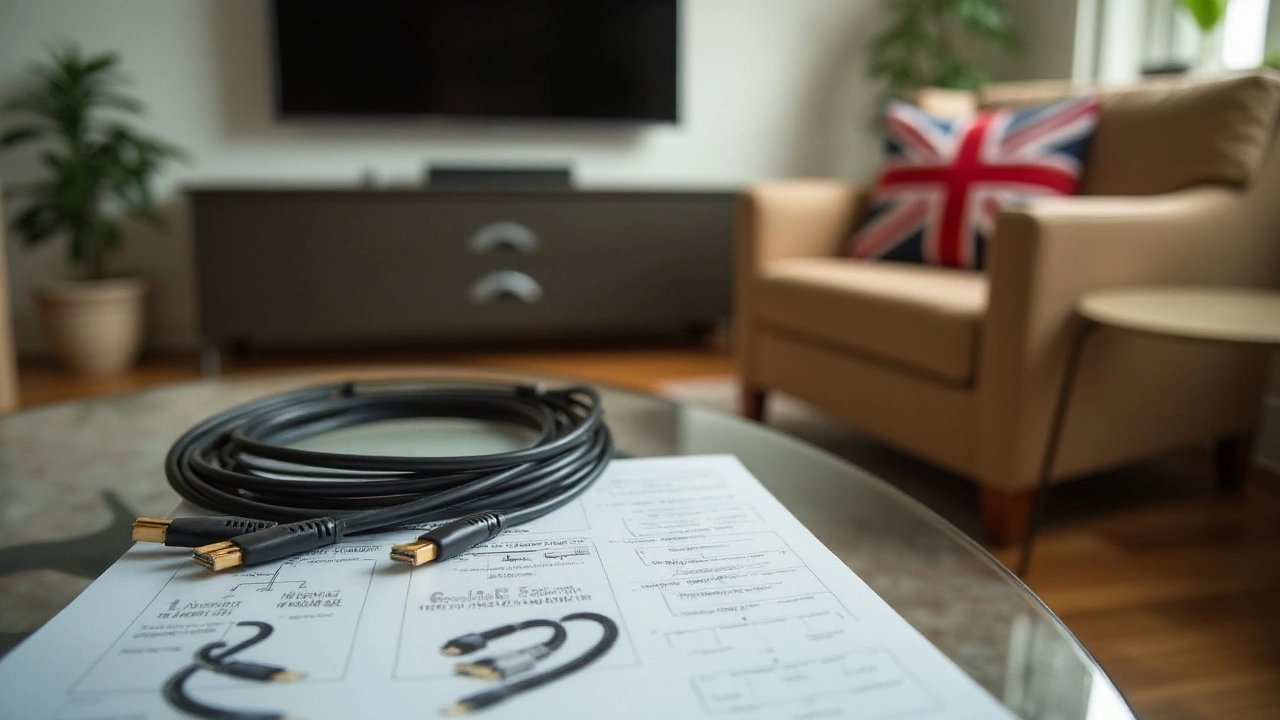
Now for the wiring. Plug the power cord into a surge‑protected outlet – never use an extension cord for a TV. For video, grab a high‑speed HDMI cable that supports 4K if your TV is 4K‑capable. Want to be sure it’s 4K‑ready? Look for HDMI version 2.0 or higher on the cable’s label.
Connect the HDMI cable from your TV to your source – a streaming box, game console, or Blu‑ray player. If you have multiple devices, use an HDMI switch so you can keep one cable tidy.
Once everything is hooked up, turn the TV on and run the built‑in setup wizard. Most modern TVs will ask you to select picture mode, language, and network. Connect to Wi‑Fi and run any firmware updates before you start watching – this fixes bugs and adds new features.
Picture calibration is the fun part. Start with the TV’s “Standard” or “Dynamic” mode, then switch to “Custom” or “Cinema” if you have one. Set the brightness so whites look bright but not washed out, and lower the backlight if you watch in a dark room. Adjust the contrast so dark scenes still show detail. If your TV has a “Game” mode, enable it for lower input lag when gaming.
Sound matters too. Built‑in speakers are fine for casual watching, but a soundbar or a small AV receiver makes movies feel bigger. Connect the soundbar with an optical cable or HDMI ARC – the TV will send audio directly without extra settings.
That’s it – you’re ready to binge, game, or stream with a TV that looks and sounds great. Keep the remote handy, enjoy the crisp picture, and remember that a little tweaking can keep your set‑up looking fresh for years.
If you've just bought a 4K TV, you might be wondering if a specific 4K HDMI cable is necessary for the best viewing experience. This article delves into the differences between regular and 4K HDMI cables, helping you understand the technical aspects that determine video quality. It evaluates scenarios where a standard HDMI cable might suffice and provides tips on maximizing your 4K TV setup's potential. Discover how 4K HDMI cables can influence picture clarity and whether investing in one is truly worth it.